Overview
Notifications help you stay informed about new appointments and changes. You can specify who receives notifications and which changes are communicated.
This feature is available starting with the Plus version
Set up email notifications
Open calendar: Go to your personal access link.
Open menu: Click the hamburger menu in the top right corner.
Enable notifications: Select the Notifications option.
Enter recipient: Enter the recipient’s name and email address.
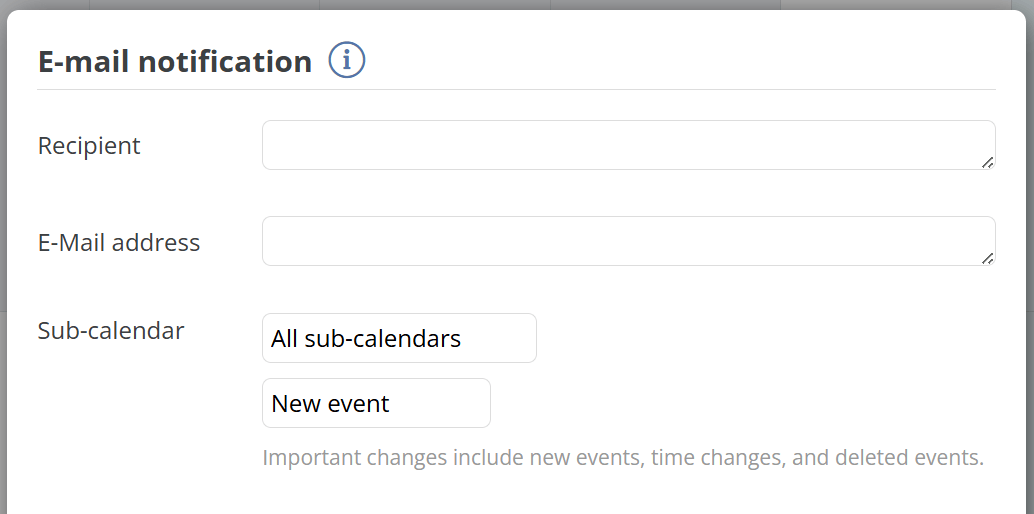
Select subcalendars: Choose which subcalendars should trigger notifications.
-
Set notification type:
New appointments: Send an email when new appointments are created.
Important changes: Send an email when the date or time of an appointment is changed or when an appointment is deleted.
All changes: Send an email for every change (e.g., title, description, location).
Click Save to create the notification for the desired person
Manage Recipients
You can add new recipients or adjust existing settings at any time:
Open your Administrator Link
Click the gear icon in the top right corner to open the Settings
Click on Team
Click on New Team Member
Name, Email and any additional information
Save team member
Enable notifications:
Click on Notifications in the left-hand navigation bar
Click the New Notification button
Select the new team member
Specify which changes should be taken into account.
-
Enable or pause notifications as needed.
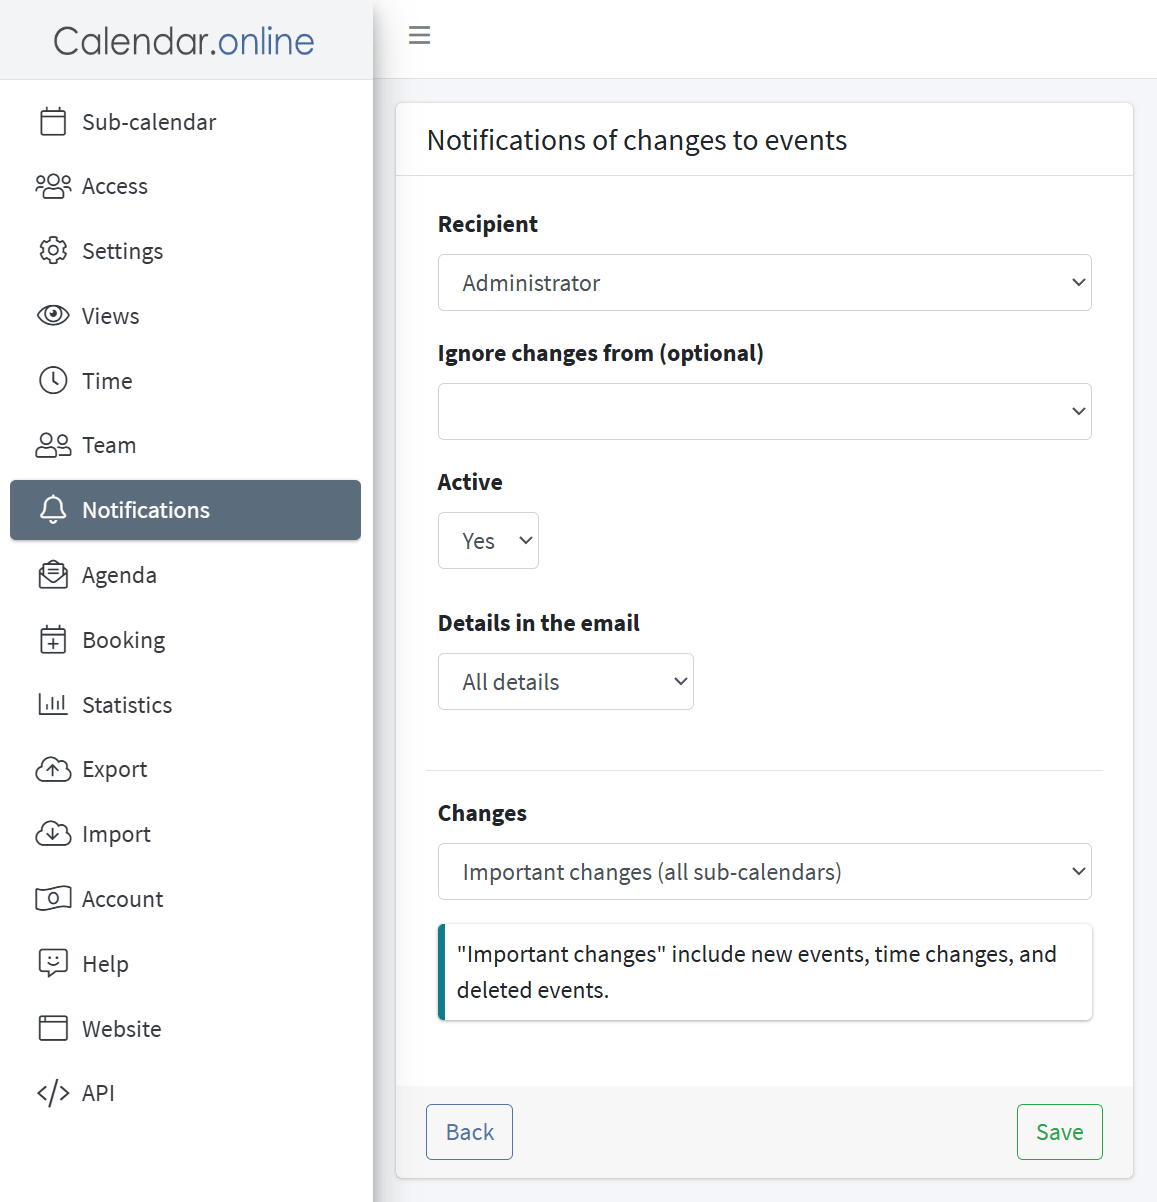
Save: From now on, the recipient will receive the selected notifications.
Unsubscribe from notifications
Recipients can unsubscribe themselves at any time:
Every notification email contains an unsubscribe link.
Alternatively, an administrator can remove the recipient from the settings.
With the notification feature from Calendar.online, you’ll always stay up to date. Use the custom settings to tailor notifications to your needs.